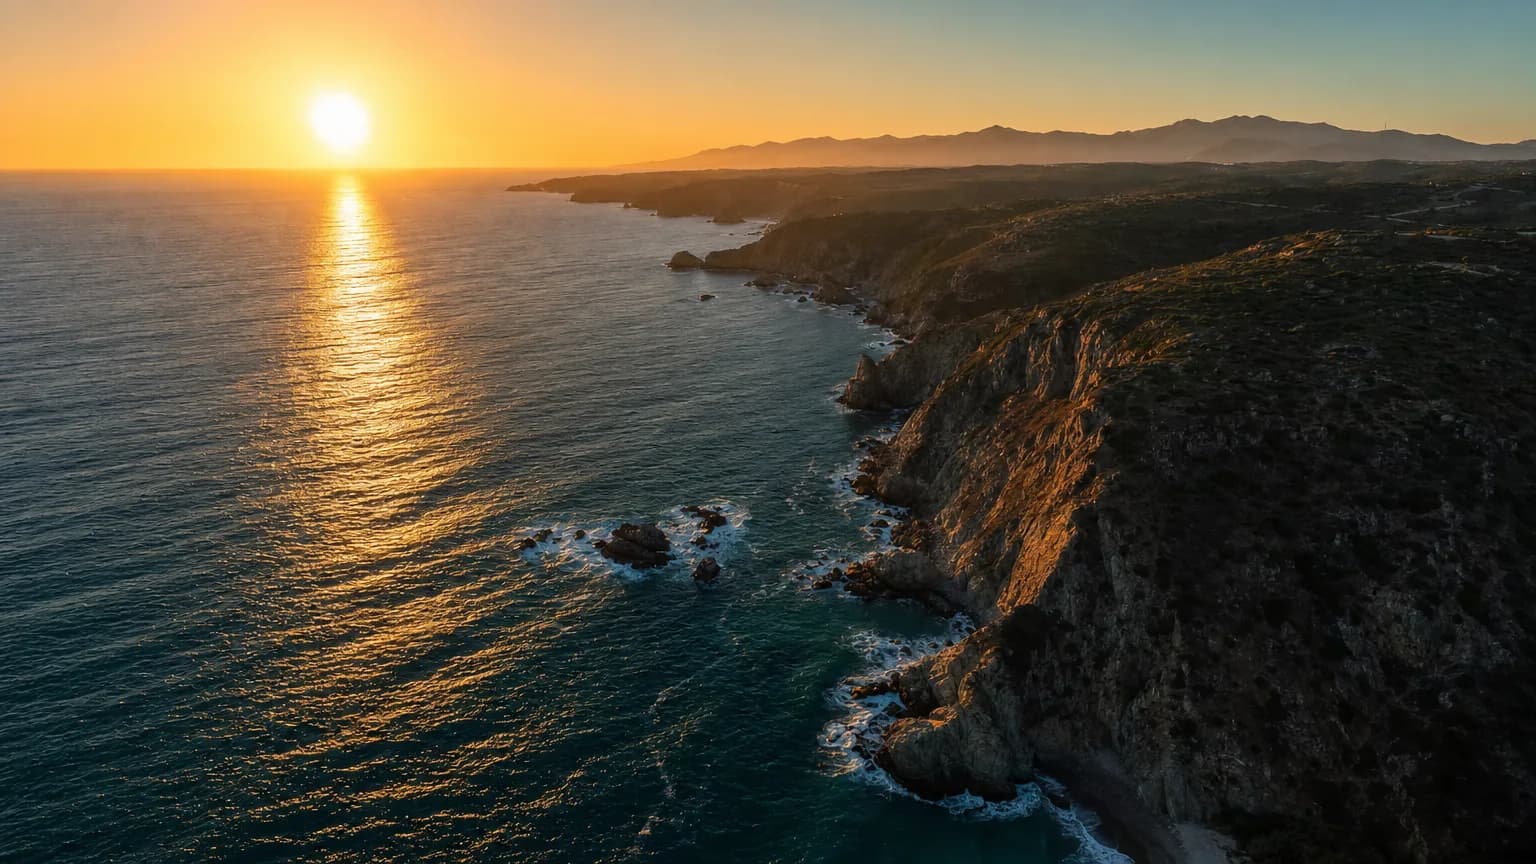
Drone footage converts to HDR unusually well, better than most video people try it on, for a simple reason: the two things aerial shots are full of, wide sky and bright reflective surfaces (water, glass, snow, pavement), are exactly where SDR's 100-nit ceiling and 8-bit gradients show their limits, and exactly where HDR10's extra range and 10-bit color have the most to work with.
Why aerial footage is a good candidate
A ground-level shot usually has one dominant light source and a lot of shadow. A drone shot at altitude often has none of that: even, high-key light across the whole frame, a sky that fills a third or more of it, and surfaces angled to catch reflection. SDR compresses all of that toward the same near-white value. HDR10 has the headroom to keep the sky, the reflections, and the ground separated instead of collapsing together.
The gradients matter too. A clear sky is one of the hardest things for 8-bit color to render cleanly; the smooth falloff from horizon to zenith is precisely where banding shows up first. 10-bit color fixes this directly, and drone shots have more sky per frame than almost any other kind of footage. The same is true of open water: a lake or coastline under any real amount of light produces a gradient from a bright glare point out to darker, cooler water at the edges of frame, and that gradient bands in 8-bit the same way sky does.
Altitude changes the geometry of light in a way that also helps. A gimbal looking down or out from 100 to 400 feet sees more sky and more horizon than a camera on a tripod ever will, and it sees reflective surfaces (roofs, water, wet roads, greenhouse glass, solar panels) at grazing angles that produce hard specular highlights. Those highlights are wasted in SDR: pushed to solid white, they read as blown-out spots. In HDR10 they read as light, which is closer to what the eye actually saw at the time.
What to shoot for
- Expose for the highlights, not the shadows. Aerial footage from most drone cameras already does this by default. Keep it that way. A clipped sky gives the conversion nothing to work with, no matter how good the engine is.
- Shoot log or flat if your drone supports it. D-Log, D-Cinelike, or any flat profile preserves range that a baked-in "vivid" color mode throws away before you ever get the file. Note the tradeoff covered under converting log footage: a full log curve is meant to be graded, so if you plan to convert without a grading stage, pick the lighter profile.
- Avoid heavy in-camera sharpening and saturation. These are stylistic choices layered on top of the raw sensor data, and they work against a conversion the same way a hand grade does: the range they compress is range HDR cannot get back.
- Lock white balance before you take off. Auto white balance drifting mid-shot, common when a drone turns from facing the sun to facing away from it, bakes a color shift into the file that a single-pass conversion has no way to separate from the actual scene. Set a fixed Kelvin value once you know your flight path and leave it.
- Use an ND filter to keep your shutter angle correct, not just to avoid overexposure. Without one, bright daylight forces a drone camera into a very high shutter speed to avoid clipping, which produces the strobing, over-sharp motion look common in raw drone footage. An ND filter lets you hold close to a 180-degree shutter (roughly double your frame rate) while still protecting highlights, so the footage looks natural and still has the exposure headroom a conversion needs.
Profiles by drone class
Most current prosumer drones in the Mavic-class and comparable Autel and Skydio models offer a log or log-like profile (D-Log, D-Log M, or a manufacturer-specific flat curve) alongside the default Normal and Vivid modes, usually paired with 10-bit H.265 recording. If your drone offers it, use it: the wider tonal curve is captured once at record time and cannot be recovered afterward if you shoot Normal or Vivid instead. Cheaper and older consumer drones are often locked to 8-bit Normal or Vivid with no log option at all. That footage still converts, since the process works on whatever range the file actually contains, but the ceiling on how much depth comes back is lower because less was captured in the first place. If your drone gives you a choice between D-Log and D-Log M (or an equivalent lighter flat profile), D-Log M is usually the safer pick for a single automated conversion pass: it preserves most of the highlight and shadow range without pushing midtones so flat that the file looks washed out if you ever need to review it before converting.
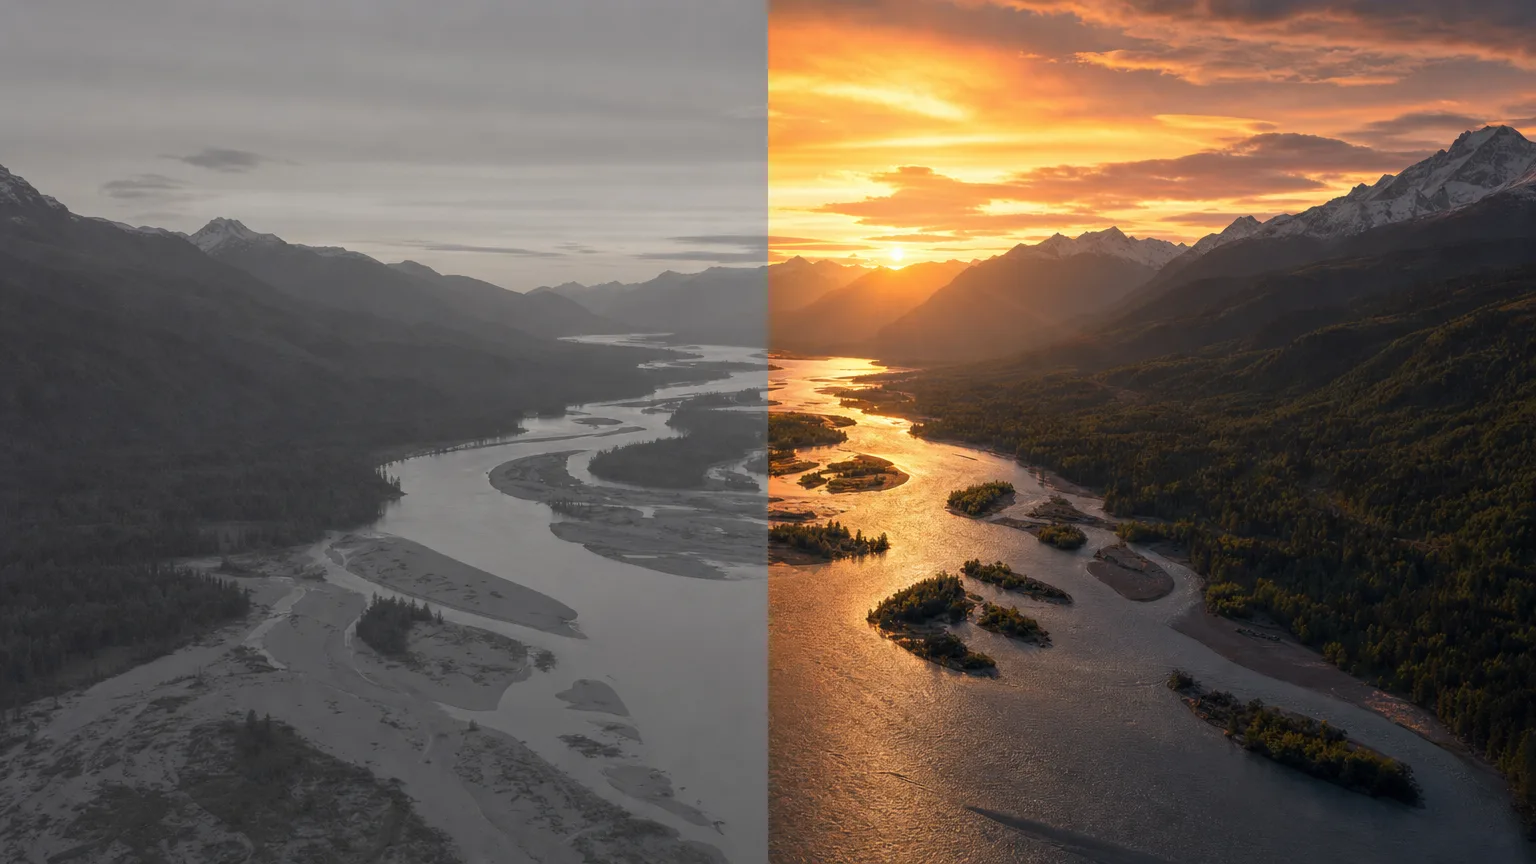
A worked example: a sunset flyover over water
Picture a common aerial shot: a drone flying a slow lateral pass along a shoreline at golden hour, roughly 150 feet up, the sun low and just off to one side, its reflection laid out as a bright streak across the water. A dock and a couple of boats sit in the middle distance, and the near shoreline is already sliding into shadow as the sun drops.
Shot on a default "vivid" profile and exposed for the water and sky, that sun-glare streak clips hard to solid white with a visible hard edge, the sky gradient from warm orange near the horizon to blue overhead shows faint banding once it is scaled to a large screen, and the shaded foreground shoreline crushes to near-black with little separation between rocks, sand, and grass. Every one of those problems is a range problem: the file simply does not have anything recorded between "white" and "not white," or between "black" and "not black," because it was thrown away at capture.
Shot log or flat and exposed to protect the glare streak, the same clip carries real information in all three of those zones. The conversion has a gradient to work with in the water highlight, so the finished HDR10 file renders it as a bright, gradually softening streak instead of a flat white bar. The sky gradient gets 10-bit precision instead of 8-bit, so the falloff from horizon to zenith is smooth on a large HDR panel. The shaded shoreline keeps enough separation that rocks, sand, and grass are still distinguishable instead of merging into one dark shape. Nothing about the shot composition changes: it is the exact same 20 seconds of flight at the exact same resolution and frame rate, just with the tonal range that was already latent in the file finally given somewhere to go. At 4K, a clip like this runs $12.75 per 10 seconds, so a 20-second cut costs $25.50 at the base rate.
Planning a shoot specifically for HDR delivery
If you are planning the flight rather than just converting what you already have, a few choices matter more than they would for an SDR-only edit.
- Fly during golden hour or blue hour when the shot allows it. Low-angle light creates the biggest gap between a scene's brightest and darkest points, which is exactly the gap HDR10 has room to render that SDR does not. Flat midday light under haze, or a fully overcast sky, still converts fine, but there is less separation in the source to bring out, so the difference is more subtle.
- Do not crop out the sky or the reflective surface to tighten a shot. A frame that is all ground, no horizon, no water or glass, loses the exact elements that make aerial footage a strong candidate in the first place.
- Hold on a highlight for a couple of seconds instead of panning straight through it. A sun-glare streak or a lit building at dusk needs a moment on screen for a viewer's eye, and an HDR-capable display, to register the added range. A fast pan across it reads the same in HDR as it would in SDR because it is gone before the difference is visible.
- At night, watch for point light sources that clip hard in-camera. Streetlights, illuminated signs, and building windows shot from altitude can blow out to solid white blobs with no gradient at all, especially at high ISO. A log profile and a slightly lower exposure setting than feels natural will protect more of that detail for the conversion to use.
What stays the same
Resolution and frame rate are preserved exactly. A 4K30 drone clip comes back 4K30, a 4K60 clip comes back 4K60. Nothing is resized, retimed, or stabilized in the process, the conversion only touches luminance and color, not motion or spatial detail. If your footage needs stabilization or upscaling, do that first and convert the result, not the other way around.
The limits that apply
Same as any clip: MP4, MOV, or WebM, up to 60 seconds and 500 MB. Most drones shoot in longer continuous takes, so plan to trim to the segment you actually want to deliver, a sunset pass, a reveal shot, before uploading. If you are evaluating quality on a new drone or a new location, a 10-second cut with sky and a reflective surface in frame is enough to judge.
Pricing follows resolution: $6.00 per 10 seconds at 1080p and below, $12.75 per 10 seconds above 1080p, most drone footage shot at 4K falls in the higher tier. If you already have a specific clip in mind and just want to run it, convert drone footage to HDR has the quick version of this page with pricing up front.
Questions people ask
Do I need to grade drone footage before converting?
Only if you shot a full log profile. D-Log and equivalent full curves are meant to be graded, and converting them ungraded gives you a flat picture with HDR tags on it. A lighter profile such as D-Log M survives a single automated pass. See converting log footage.
Does 4K drone footage cost more to convert?
Yes. Anything above 1920 pixels on the long edge or 1080 on the short edge is charged at $12.75 per 10 seconds rather than $6.00. A 30-second 4K sequence is $38.25. Exporting a 1080p version first halves the cost and loses the resolution.
Should I stabilise or colour-grade before or after converting?
Before. Both re-encode the file, and re-encoding an HDR10 file strips the static metadata carried in the HEVC stream unless the tool explicitly preserves it. Do every step that touches the pixels first and convert last.
Then what
For the mechanics of the conversion itself and how to verify the output, see how to convert an SDR video to HDR. For which platforms will actually show the result in HDR once you publish it, see where HDR video actually plays.