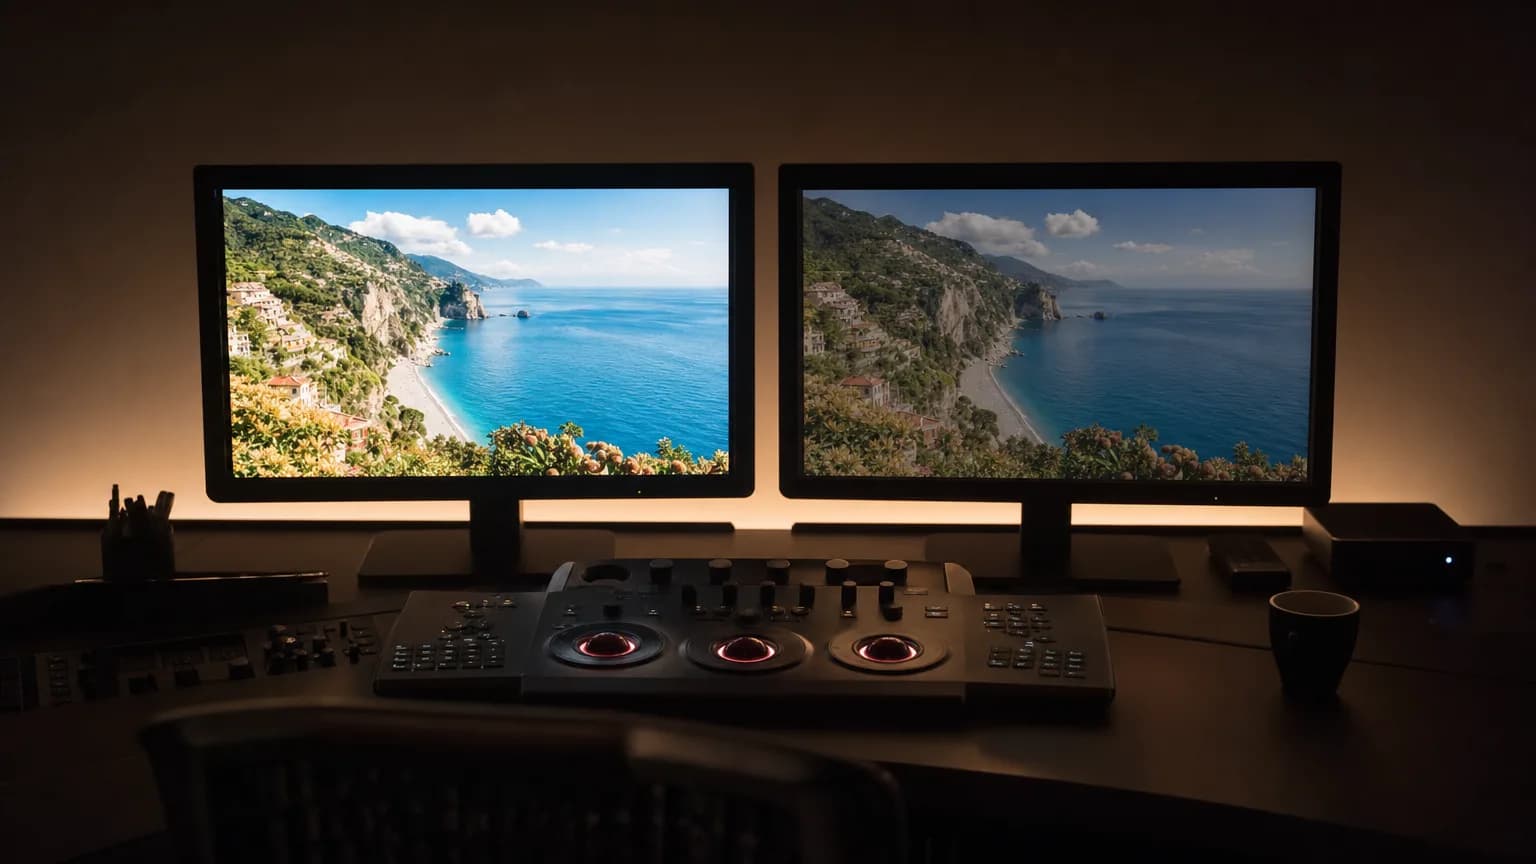
You have an HDR file. Something downstream cannot take it: an older TV, a client's editing suite, Premiere on a colleague's machine, a platform that re-encodes anything it does not recognise. So you convert it to SDR, and the result looks worse than it has any right to. Milky blacks, drained colour, a flatness that was not in the original.
That result is not the fault of your source. It is almost always one of two specific mistakes, and both are easy to make because the obvious command produces them silently.
We run the conversion in the other direction for a living, so we spend a lot of time inside these curves. Everything below was tested on ffmpeg 8.1.1 before it was written down, including the commands that fail.
The two things that go wrong
One: nobody tone mapped anything. HDR files encode brightness with a completely different curve than SDR files. If you change the container and the pixel format without converting the curve, the numbers in the file stay put and their meaning changes underneath them. Mid-greys land where dark tones should be, highlights collapse. This is the grey, foggy version.
Two: the picture was converted and the label was not. This one is worse because the image is genuinely correct. The file just still says it is HDR, so every player tone maps it a second time, on top of the conversion you already did. You end up debugging your tone curve when the curve was fine.
The second mistake is common enough that we should be precise about it. Here is what most guides tell you to do:
ffmpeg -i in.mp4 -vf "...tonemap here..." \
  -c:v libx264 -colorspace bt709 -color_primaries bt709 -color_trc bt709 out.mp4
And here is what comes out:
color_space=bt709
color_transfer=smpte2084
color_primaries=bt2020
One of the three took effect. The other two were accepted without complaint and quietly dropped. The file is correctly converted and still announces itself as PQ and BT.2020, which is exactly the signal that makes a player apply its own tone mapping. The fix is further down; the point for now is that ffmpeg told you nothing.
Step 0: find out what you actually have
Before converting anything, ask the file what it is. Guessing here is what leads to applying the wrong curve.
ffprobe -v error -select_streams v:0 \
  -show_entries stream=color_transfer,color_primaries,pix_fmt \
  -of default=noprint_wrappers=1 input.mp4
Three answers matter:
color_transfer | What it is | Notes |
|---|---|---|
smpte2084 | HDR10, HDR10+, most Dolby Vision | The PQ curve. Absolute brightness, in nits. |
arib-std-b67 | HLG | Every iPhone records this. Also most broadcast HDR. |
bt709, smpte170m, empty | Not HDR | Stop. Converting this will only damage it. |
That third row catches more people than you would expect. A 10-bit file is not an HDR file, a BT.2020 file is not necessarily an HDR file, and a large file from a nice camera is not an HDR file. If the transfer characteristic is not one of the first two, whatever is wrong with your footage is not dynamic range.
The PQ and HLG distinction is the one that quietly ruins conversions. They are different curves with different maths, and running HLG through a PQ inverse still produces a picture. That is what makes it dangerous: the output is wrong rather than broken, so nothing fails and nothing warns you. Given how much HDR footage comes off phones, HLG is the common case, not the exotic one.
Method 1: HandBrake, if you just need it done
For a one-off, or if the command line is not where you want to be, HandBrake is the honest answer. It is free, it runs everywhere, and recent versions tone map HDR to SDR properly rather than just flattening the curve.
Load the file, pick a preset in the General or Web group (these output Rec. 709), and check that Video Encoder is H.264 or H.265 with an 8-bit profile. HandBrake handles the curve and writes the correct tags. Verify anyway with the ffprobe command at the end of this article.
The trade-off is control. You get HandBrake's tone curve, not one you chose, and you cannot tell it your source was mastered at 4000 nits rather than 1000. For most footage that is fine. When it is not, the picture usually comes out either flat or with blown highlights, and that is when it is worth dropping to ffmpeg.
Method 2: ffmpeg with zscale, the standard route
If your ffmpeg build includes zimg, this is the cleanest approach. It converts to linear light, tone maps there, and converts back, which is the correct order of operations.
Check first, because a great many builds do not have it:
ffmpeg -filters | grep -E "zscale|libplacebo"
Homebrew's ffmpeg prints nothing for that. Its configure line has neither --enable-libzimg nor --enable-libplacebo, which is worth knowing before you spend an afternoon on a filter that is not installed. Most Linux distribution builds do include zimg. If yours does:
ffmpeg -i input.mp4 -vf "\
zscale=transfer=linear:npl=100,\
tonemap=tonemap=hable:desat=0,\
zscale=primaries=bt709:transfer=bt709:matrix=bt709:range=tv,\
format=yuv420p" \
  -c:v libx264 -preset slow -crf 18 -c:a copy out.mp4
npl=100 sets the nominal peak the tone mapper works against. desat=0 turns off ffmpeg's highlight desaturation, which many people prefer off because it can wash out bright saturated areas, the exact thing you were trying to preserve.
For HLG sources, add zscale=t=arib-std-b67:... handling or let zscale read the tags; it reads the transfer characteristic from the stream when it is tagged correctly, which is why Step 0 matters.
Method 3: a LUT, which works on every build
No zimg, no libplacebo, and colorspace refuses smpte2084 outright. What every ffmpeg has is lut3d, and a 3D LUT can express any mapping you like, including a better one than the filters would have given you.
Save this as make-lut.mjs. It generates a 33-point cube for either curve:
// node make-lut.mjs pq 1000 > pq.cube
// node make-lut.mjs hlg 1000 > hlg.cube
const [curve = "pq", peak = 1000] = process.argv.slice(2);
const N = 33, DST = 100, P = Number(peak);
const m1=2610/16384, m2=(2523/4096)*128,
      c1=3424/4096, c2=(2413/4096)*32, c3=(2392/4096)*32;
const pqToNits = v => { const p=Math.pow(Math.max(v,0),1/m2),
  n=Math.max(p-c1,0), d=c2-c3*p;
  return d<=0 ? 0 : 10000*Math.pow(n/d,1/m1); };
const nitsToPq = L => { const y=Math.pow(Math.max(L,0)/10000,m1);
  return Math.pow((c1+c2*y)/(1+c3*y),m2); };
const hlgToScene = v => { const a=0.17883277, b=1-4*a,
  c=0.5-a*Math.log(4*a), x=Math.max(v,0);
  return x<=0.5 ? (x*x)/3 : (Math.exp((x-c)/a)+b)/12; };
// ITU-R BT.2390 EETF
const eetf = (L, src, dst) => {
  const lw = nitsToPq(src), maxL = nitsToPq(dst)/lw;
  if (maxL >= 1) return L;
  const e1 = nitsToPq(L)/lw, ks = 1.5*maxL - 0.5;
  let e2 = e1;
  if (e1 >= ks && ks < 1) {
    const t=(e1-ks)/(1-ks), t2=t*t, t3=t2*t;
    e2 = (2*t3-3*t2+1)*ks + (t3-2*t2+t)*(1-ks) + (-2*t3+3*t2)*maxL;
  }
  return pqToNits(Math.min(e2, maxL) * lw);
};
const M = [[1.6605,-0.5876,-0.0728],
           [-0.1246,1.1329,-0.0083],
           [-0.0182,-0.1006,1.1187]];
const srgb = c => c<=0.0031308 ? 12.92*c : 1.055*Math.pow(c,1/2.4)-0.055;
const cl = x => x<0 ? 0 : x>1 ? 1 : x;
let out = `LUT_3D_SIZE ${N}\n`;
for (let b=0;b<N;b++) for (let g=0;g<N;g++) for (let r=0;r<N;r++) {
  const sig = [r,g,b].map(i => i/(N-1));
  let nits;
  if (curve === "hlg") {
    const s = sig.map(hlgToScene);
    const y = 0.2627*s[0] + 0.6780*s[1] + 0.0593*s[2];
    const gain = P * Math.pow(Math.max(y,1e-6), 0.2);
    nits = s.map(e => gain*e);
  } else nits = sig.map(pqToNits);
  const mx = Math.max(...nits);
  const k = mx > 1e-6 ? eetf(mx, P, DST)/mx : 0;
  const lin = nits.map(n => n*k/DST);
  const rgb = M.map(row => row[0]*lin[0]+row[1]*lin[1]+row[2]*lin[2]);
  out += rgb.map(x => cl(srgb(cl(x))).toFixed(6)).join(" ") + "\n";
}
process.stdout.write(out);
Then convert:
node make-lut.mjs pq 1000 > pq.cube

ffmpeg -i input.mp4 -vf "\
format=gbrp10le,\
lut3d=pq.cube,\
format=yuv420p,\
setparams=color_primaries=bt709:color_trc=bt709:colorspace=bt709" \
  -c:v libx264 -preset slow -crf 18 -pix_fmt yuv420p \
  -c:a copy -movflags +faststart out.mp4
Three details in that filter chain are load-bearing:
format=gbrp10lecomes first so the YUV to RGB step uses the tagged BT.2020 matrix instead of guessing at BT.709 and shifting every colour before the LUT ever sees it.setparamscomes last, and it is how you avoid the tag trap described above. It writes the three colour fields on the frames themselves, so the encoder has no choice about them.- The LUT path is not shell-quoted.
lut3d="pq.cube"makes ffmpeg look for a file whose name contains the quote characters, because"is not a quote character to the filtergraph parser. If your path contains a colon, escape it with a backslash rather than wrapping it.
For HLG sources, generate hlg.cube instead and swap it in. Same chain otherwise.
Which tone curve, and why not Hable
Hable is the curve most tutorials reach for, and for HDR to SDR video it is the wrong choice. Its shoulder is too shallow to do the two things this conversion needs at once: put HDR diffuse white somewhere near SDR diffuse white, while still leaving headroom for a 1000 nit highlight.
Run the numbers. HDR reference white is 203 nits under BT.2408. With a Hable curve normalised the usual way, that lands on 150 out of 255. Diffuse white, the brightness of a white shirt or a page of paper, comes out darker than mid-grey. That is the muddy look, and no amount of adjusting afterwards recovers it, because the information was compressed away.
BT.2390's EETF, which is what the generator above implements, has an explicit knee. Everything below it passes through untouched and only highlights are compressed:
| Source | Hable | BT.2390 EETF |
|---|---|---|
| 1 nit | 6/255 | 25/255 |
| 20 nits | 54/255 | 124/255 |
| 100 nits | 114/255 | 217/255 |
| 203 nits (reference white) | 150/255 | 241/255 |
| 1000 nits | 228/255 | 255/255 |
The EETF column is not "brighter", it is correct. 1 nit on a 100 nit display is 1% linear, and sRGB encodes 1% linear as roughly 25/255. The Hable column is crushing shadows and compressing everything else to make room for highlight range it did not need.
One more choice worth making deliberately: the generator tone maps max(R,G,B) and applies the result as a single gain to all three channels, rather than running each channel through the curve separately. Per-channel compression pulls the channels toward each other as they approach the peak, which desaturates and shifts the hue of bright saturated areas. Those are usually the areas someone is looking at.
Set the peak to match your source. The 1000 argument is the mastering peak. A 4000 nit master tone mapped as though it were 1000 blows out everything above 1000; the reverse leaves the picture flat and timid. Read it from the file if it is tagged:
ffprobe -v error -select_streams v:0 -read_intervals "%+#1" \
  -show_frames -show_entries frame_side_data=max_luminance,max_content \
  -of default=noprint_wrappers=1 input.mp4
max_luminance is in units of 0.0001 cd/m², so 10000000 means 1000 nits. If nothing comes back, the file carries no mastering display metadata and 1000 is a reasonable default.
Verify, every time
The whole reason this conversion goes wrong quietly is that nothing errors. So check:
ffprobe -v error -select_streams v:0 \
  -show_entries stream=color_transfer,color_primaries,color_space,pix_fmt \
  -of default=noprint_wrappers=1 out.mp4
You want exactly this, all four:
pix_fmt=yuv420p
color_space=bt709
color_transfer=bt709
color_primaries=bt709
If color_transfer still says smpte2084 or arib-std-b67, the tags did not apply, whatever the picture looks like on your monitor. Fix that before you judge the tone curve, because you are currently looking at your conversion plus your player's.
When it still looks wrong
| Symptom | Likely cause |
|---|---|
| Grey, foggy, low contrast | No tone map, only a pixel format change |
| Correct on your machine, washed out elsewhere | Tags still say HDR; check all three fields |
| Highlights blown to flat white | Source peak set too low, or clipping instead of rolling off |
| Flat and timid, nothing reaches white | Source peak set too high |
| Colours shifted, especially bright reds | Missing format=gbrp10le, so BT.2020 was read as BT.709 |
| Bright saturated areas gone pale | Per-channel tone mapping, or desat left on in tonemap |
| Banding in skies that was not there before | 8-bit output of a gradient that was fine in 10-bit; try a higher CRF budget or add dithering |
Two things the guide above does not cover, deliberately. Dolby Vision profiles with dynamic metadata carry per-scene tone mapping instructions, and a static conversion discards them; the base layer usually converts fine, but if the source was graded to lean on the dynamic layer, expect to do more work. HDR10+ is the same story. For both, the static conversion here treats them as HDR10, which is what the base layer is.
Audio needs no conversion. -c:a copy keeps it untouched and saves a re-encode.
Questions people ask
Why does a straight re-encode look washed out?
Because it reinterprets rather than converts. The PQ curve encodes absolute luminance, and reading those code values as ordinary gamma lifts blacks toward grey and drains saturation. The signal has to be tone-mapped, not relabelled.
What if my ffmpeg build has no zscale?
Use the LUT route. A generated .cube applied through lut3d works on every build, which is why it is the method to reach for on a machine you do not control. Convert to gbrp10le first so the YUV to RGB step uses the tagged BT.2020 matrix.
Can I go back to HDR afterwards?
Not to the same file. Tone mapping is lossy in the direction that matters: the highlight range compressed into SDR is not recoverable from the SDR result. Keep the HDR master and derive SDR from it rather than the reverse.
The honest note
Converting HDR to SDR throws information away. That is not a flaw in the method, it is the job: you are fitting roughly ten times the brightness range into the range that fits. A good conversion decides what to discard, which is why the curve and the source peak matter so much. It will never look better than the HDR original on a display that can show the original.
So it is worth asking whether you need to convert at all. If the constraint is one specific device or one specific editor, keeping the HDR master and exporting an SDR copy for that one destination is usually better than converting everything and living with the result. Modern players and platforms tone map HDR on the fly, and they generally do it well.
If your problem is the other direction, that you have SDR footage and want it to look right on displays that can do more, that is what we do. The SDR to HDR walkthrough covers that side, and SDR vs HDR covers what actually changes between them. If you are unsure which HDR format you are even dealing with, HDR10 vs Dolby Vision vs HLG sorts that out.